I will hopefully get around to blogging about each of these if I have not already! In the meantime, enjoy the show!


I will hopefully get around to blogging about each of these if I have not already! In the meantime, enjoy the show!
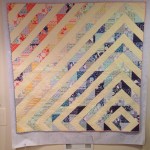
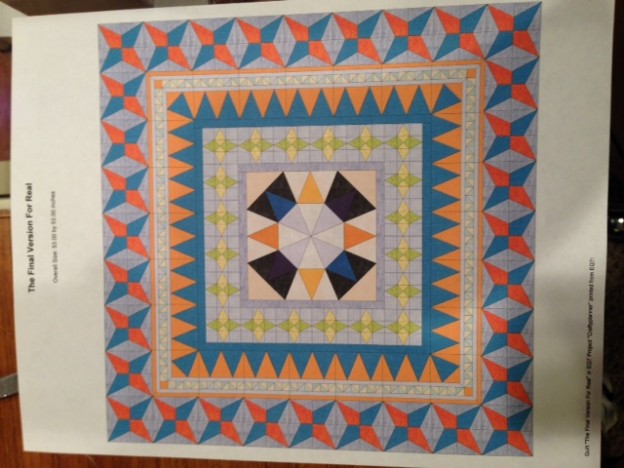
I confess that I have wanted to make the Marcelle Medallion out of the Liberty Love book for a while now. I have seen many of them on Instagram and was really getting excited about attempting my own. And then I thought, hey, why not just assemble your own.
So I broke out the trust Electric Quilt 7 handbook and figured out (finally after all these years!) to lay blocks into borders and had at it. The design came out something like this:

And so my work began. I am using Carolyn Friedlander’s Botanics line from Robert Kauffman along with one of her pieces from Architextures. Her fabric lines are fantastic. Great color and designs.
The center medallion was relatively easy to get done. Morning Star.

Once the center was done, I started to work on the subsequent borders. I had a couple of design struggles during the process, including how scrappy to go in a couple of sections.


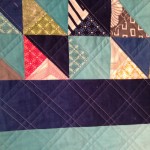
And yesterday I started to create the final border sections. I was originally going to make a block called the Priscilla but it turned out to be a little off kilter and has y seams, so a lot of work. I decided to go with a simple hummingbird block (no Y seams required though!). I was going to alternate between the dark grey and light backgrounds, but have decided to go with the light background. I’ve also decided to scrap it up again and mix in the variety of fabrics that were used in the Arkansas star block and the handkerchief edging. I only have to make 32 of them! I will update this post when I have the top all finished up!
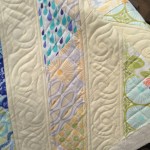
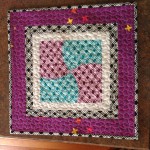
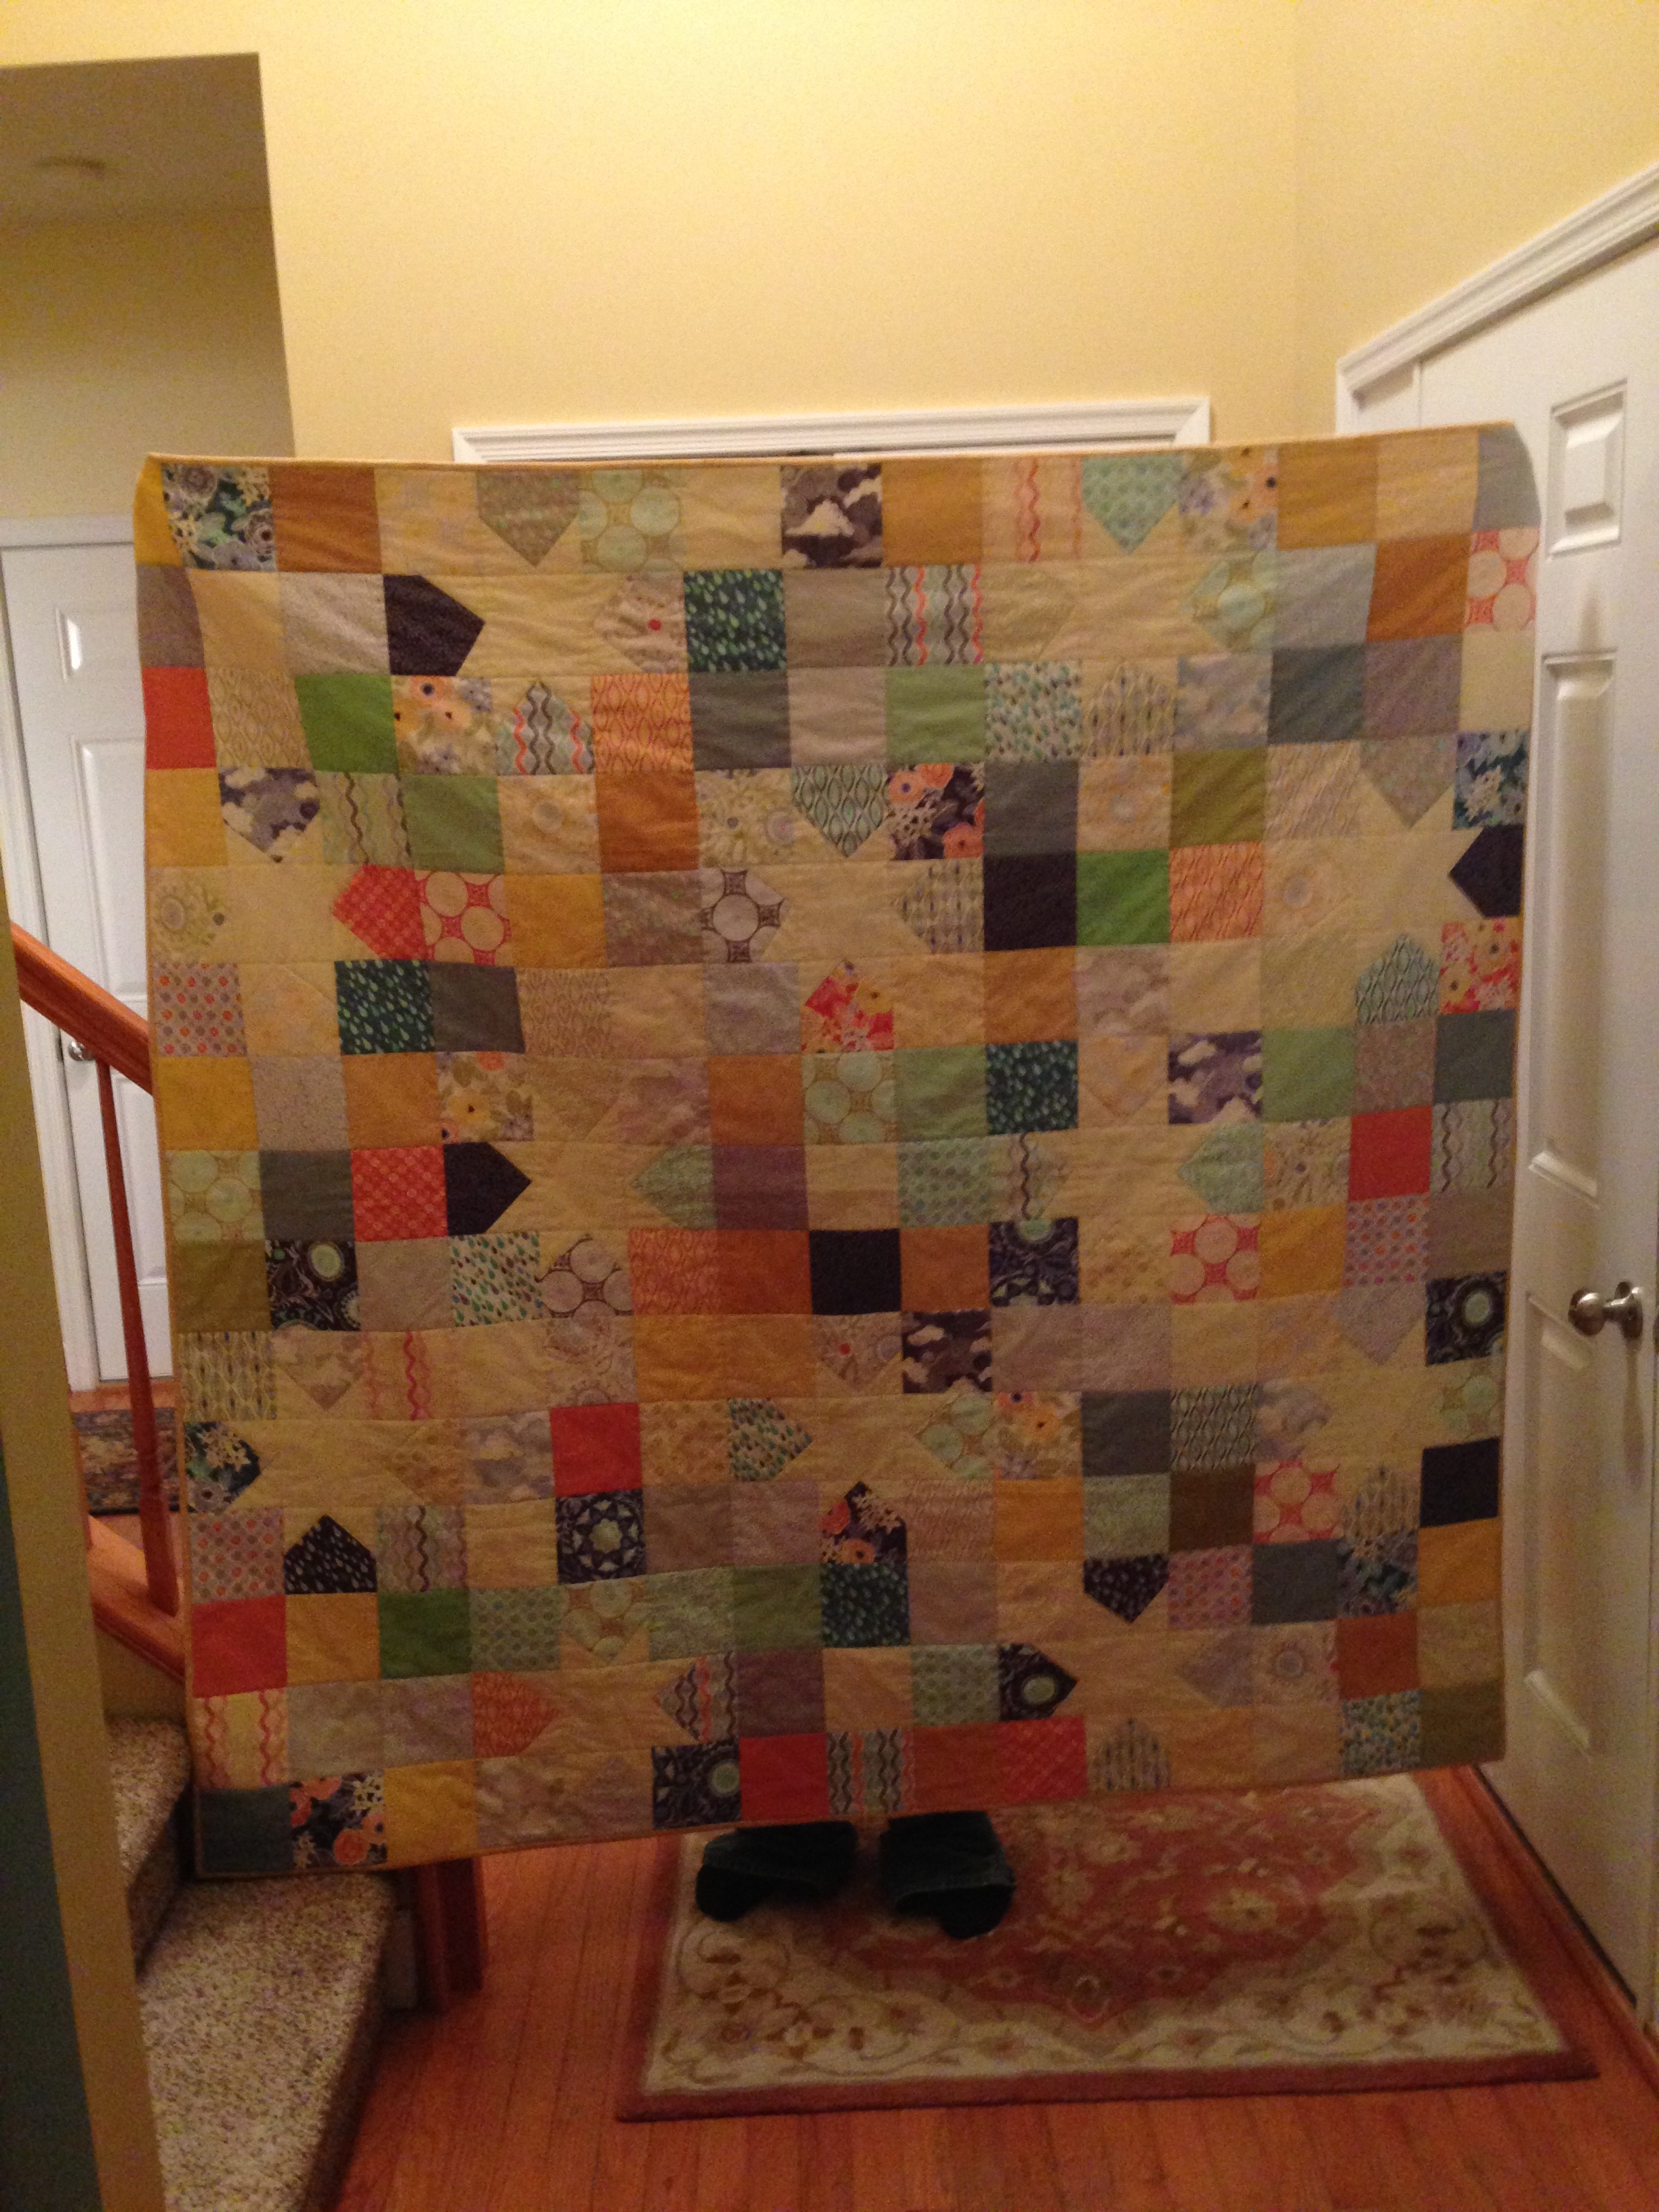
And here it is the middle of May and I am just getting around to finishing up this post, though the piece has been done for weeks! Ack! So little time. Not only was I happy with the top, I got all fancy with my Bernina stitches and came up with some great details for the quilting.


After all the quilting, this was the final result (excuse the man toes, someone needs to wear shoes when he holds quilts for me).


When I was making my permutations quilt (http://evildemondevildog.com/2014/01/25/a-study-in-permutations/) I did some block exploration. One of the blocks I made was a twisted log cabin.

The block found a new home and fame and fortune on Instagram! A couple of folks have asked about the pattern. So here is an experiment since I have never tried posting a pdf file to my blog!
The block is from Electric Quilt 7 – I have been using EQ for quite some time (okay, ever since it first came out!) and I love the versatility of the blocks, designs and layouts that can be accomplished. I have attached a six and seven inch version of the pdf file for your use (disclaimer – I checked EQ7s write up and web page and they say the blocks are not copyright – there are a couple of exceptions and this was not one of them).
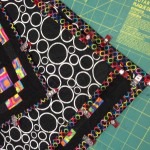
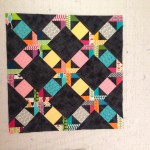
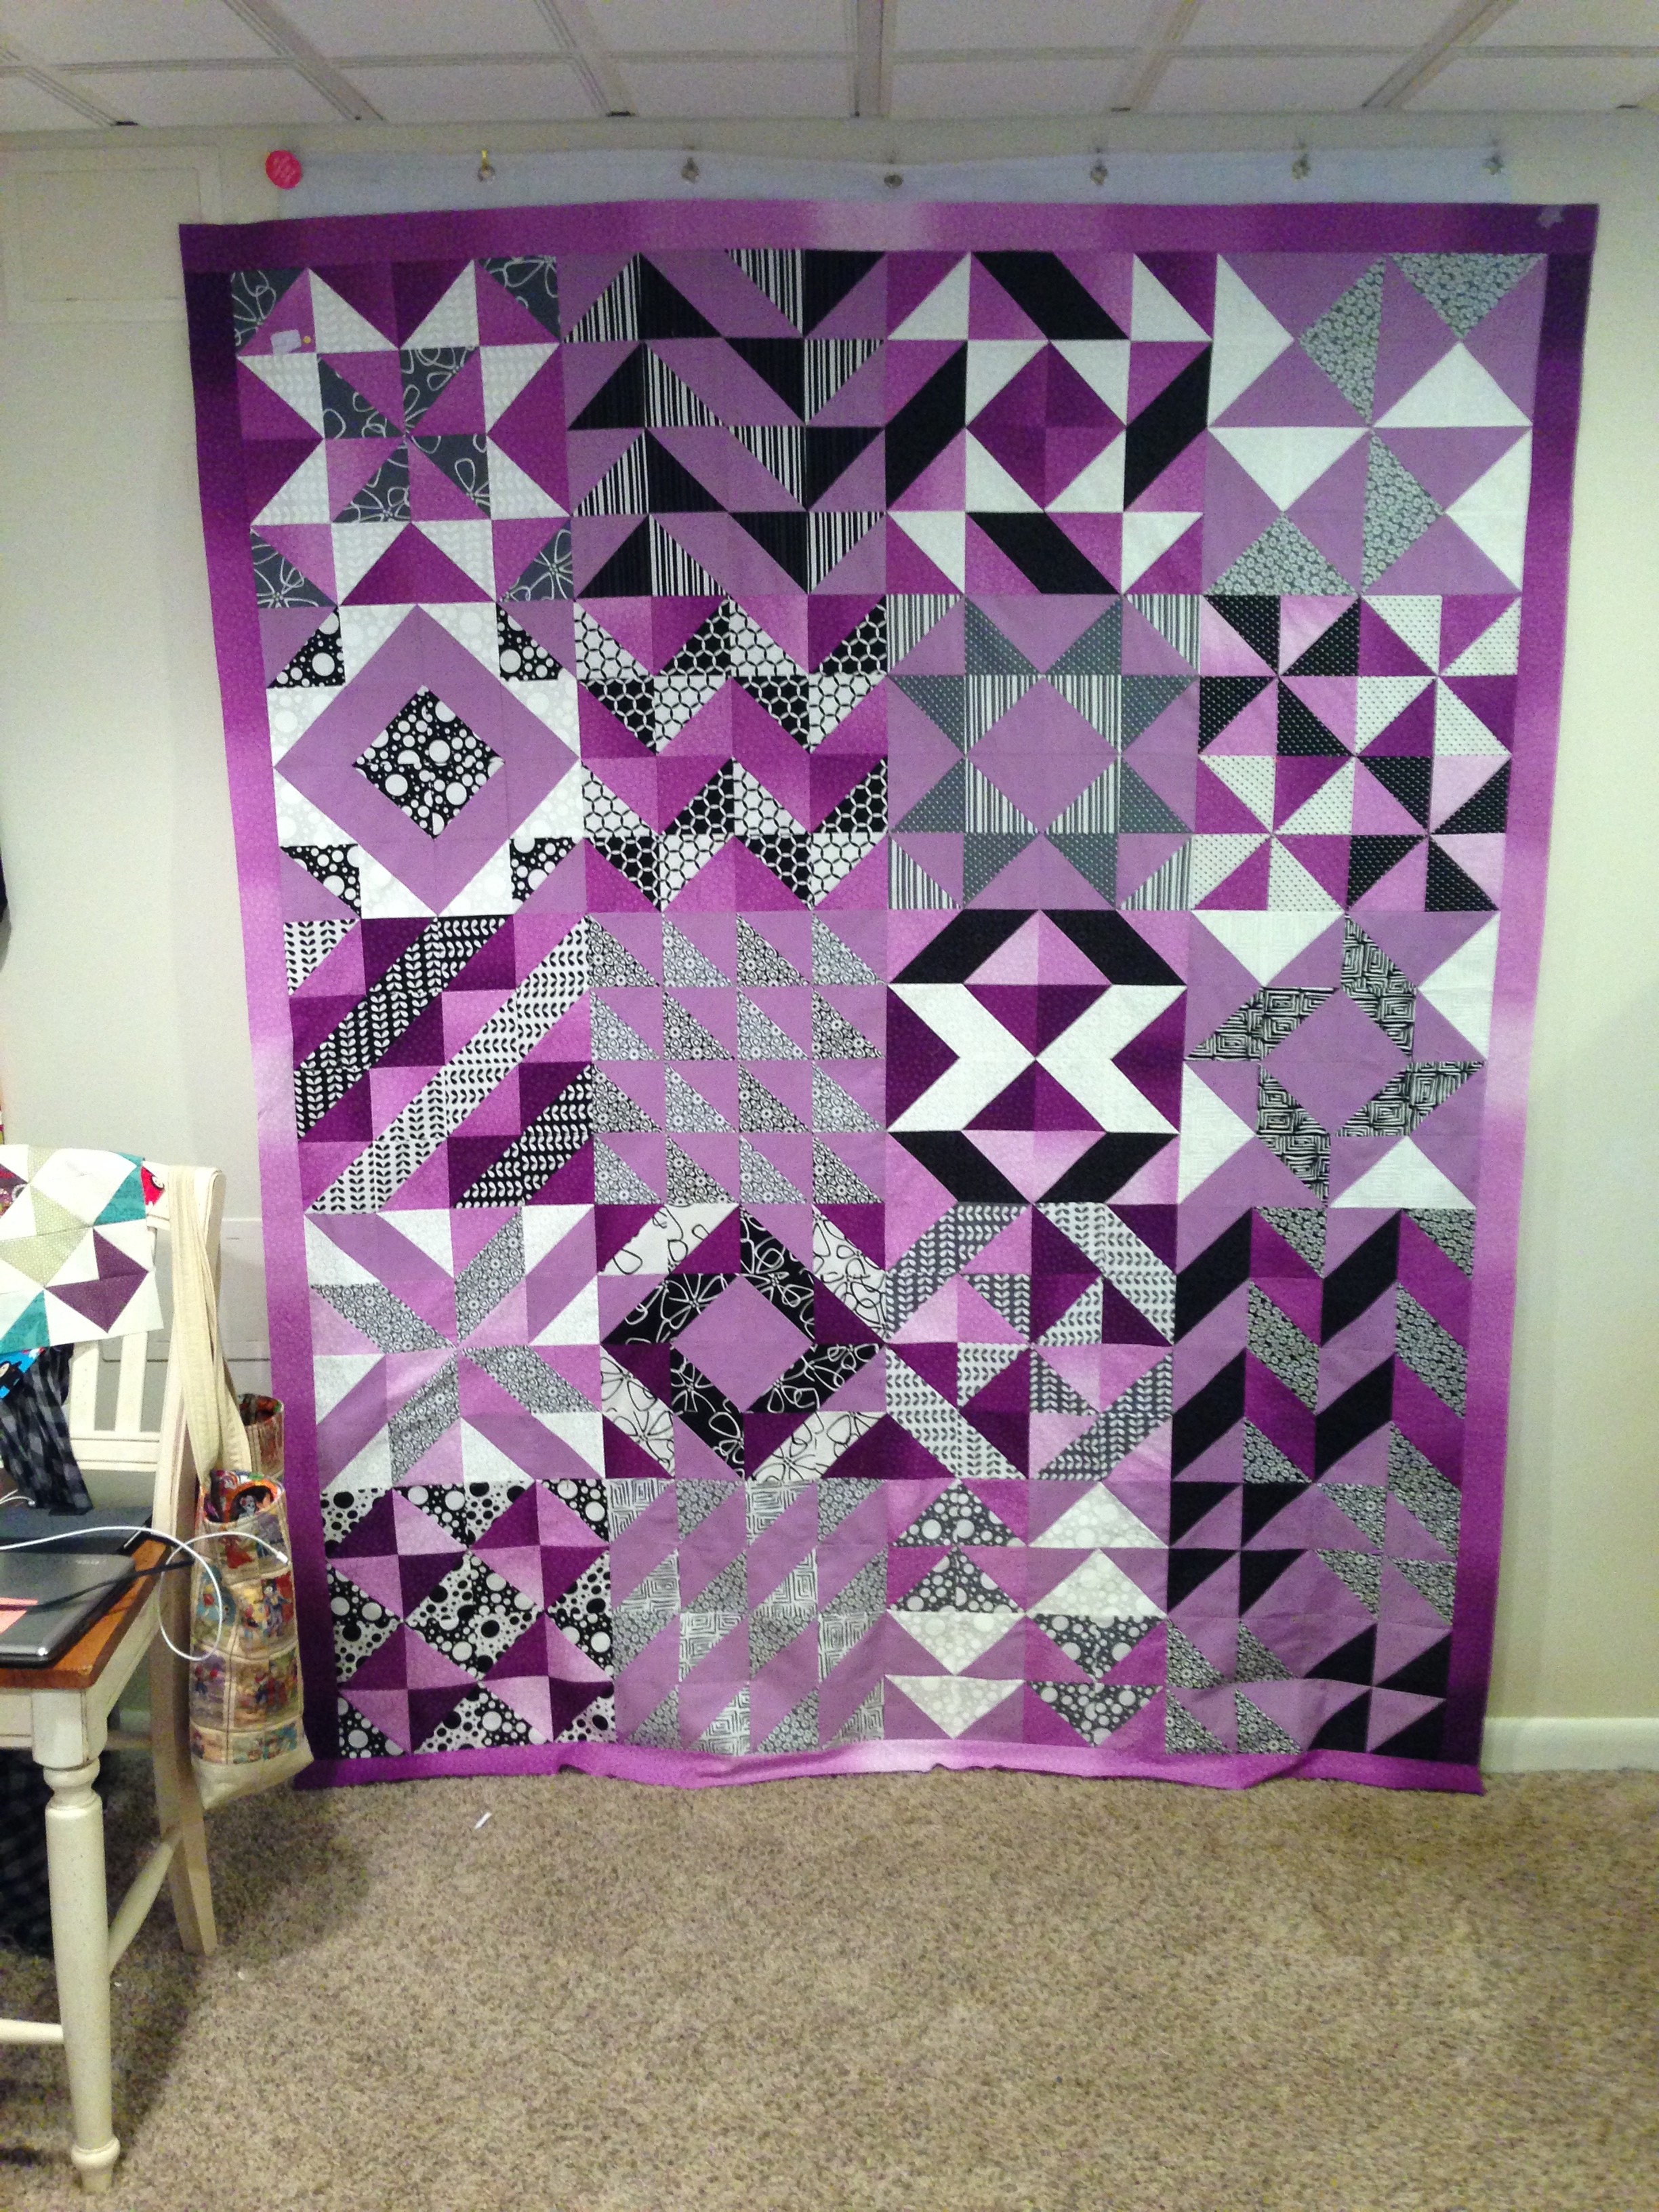
Amanda at http://materialgirlquilts.wordpress.com/ has an amazing QAL going on! Use a layer cake – check! Use half square triangles – check! Absolutely loving this QAL.
I am using Shades of Black from Me & My Sister Designs – the layer cake is from Moda. I am also using a plain purple Kona as well as a Moda Marble Dots in purple to give some variety to the layouts.
And six weeks later we are at block 12! Every Friday Amanda provides two blocks to add to the QAL. She provides pictures of her block as well as alternate layouts for the blocks.
I have been having a great time with the QAL and several of my Instragram friends who are participating. I am not even bothered by the fact that jessicaquilter always gets her blocks done before I do (well, not bothered much I suppose).
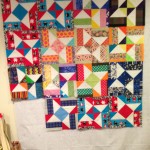
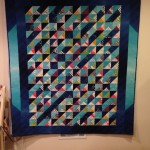
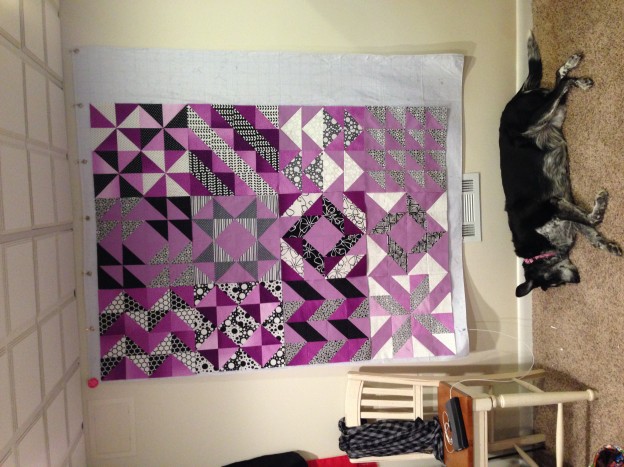
Here’s the two most recent blocks 11 and 12 as well as the whole group of 12 that have been made to date.

And we are now up to number 14! The picture to the left includes the newest additions (they are shown in the top left of the picture)! This thing is going to be ginormous!

And tomorrow is Friday so we should be coming to two new ones! Join me sometime this weekend when I post those.
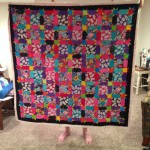
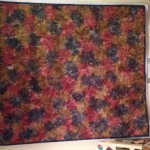
And again, a finish but blogging is way behind! It needs to be quilted but I am happy with the result. There were options for setting the blocks, including sashing and cornerstones, but I went with just having the blocks put together with an outside border. I liked the additional patterns that formed from keeping the blocks together. This was an amazing experience!
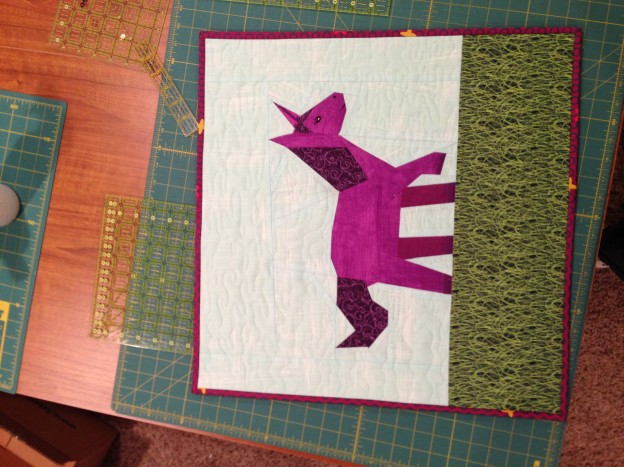
Yep, I had to. Quiet play does the most awesome paper piece patterns. I wanted to make this one so badly. I had to enlarge the pattern as the pieces were a wee bit small for me on the original. And it snowed the day I made it so a purple unicorn playing in the grass was perfect!

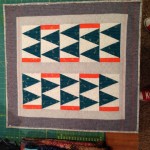
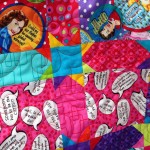
My admiration of Alison Glass fabric continues, and after working with it for the Feathers QAL I decided to make some geese. There is an awesome pattern on her website that I may one day try but for this effort I stayed relatively small (about 31 inches square).
I started by making one of my favorite patterns, A Circle of Geese. This pattern is available from http://www.piecebynumber.com/circleofgeese.htm. I then created some additional geese in different sizes.

And then I debated what to do and turned to my friends on Instagram who as always helped me out in terms of next steps – I debated putting feathers or arrows as a border, but then decided that I would use the column fabric I had and frame the geese – the folks on IG are so inspirational for me and so full of great ideas. I love having other quilters to turn to for input.

Once I had that done, I created a backing using some leftover pieces.

And finally, some straight line diagonal quilting, a binding (always a dilemma to me – again my IG friends helped me out) and a label and voila!


I think it came out super! A couple lessons learned during this process:
(1) Do not wear headphones when you baste and quilt – you will not hear the crinkling of the paper you apparently forgot to tear off the circle of geese. Well, gives new meaning to the ‘crinkly love’ of a quilt!
(2) When you piece a backing and believe you have it perfectly lined up, forget it. I’ve done this more than once! The back gets just a little off kilter. It still looks good.
And now I am debating what to do with it. I certainly do not need another quilt in the quilt museum known as my house. And it isn’t really a kid’s blanket type of thing. I debated doing it as a giveaway for my IG friends but that means I have to make a decision (or let some random generator do it). And you see how I get with bindings!
So for all her help and putting up with my IG nonsense while I worked on this quilt, I randomly decided that pattinottessa gets first decline!
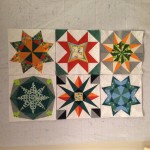
I wrote earlier about the start of the #NGAQB and you will see a couple of posts in the threads about the boys in this bee! So far we have gotten through Mr, January, Sandy Greenberg, and Mr. February, Andrew Youngman. Blocks have been made and mailed and we await final pieces from both of them!
And since Mr. March Andrew Joslyn was kind enough to have already decided his block choice, those have been posted along and they will be joining the others he will use to create his masterpiece!
Andrew requested the Inverted Star – the block is from Jessica Boschen on commonthreads.typepad.com. It was quite fun to put together and luckily Jessica recommends taking a picture of your layout to refer to, because as you move things around you can forget where you meant to put something!
Here are the finished blocks:

Well, yes indeed, after 25 plus years of sewing and never having participated in a quilting bee or block exchange, here I am in not one but two bees this year! This one was started by three of my favorite Instagram friends, Jessica, Lisa and Lisa. We were all ooooohhh and aaahhh about Lindsey Connor’s Modern Bee book. It is a delightful book that provides 13 quilts to make with friends.
And what started as a lark grew into a hive and grew into more hives! I lost count but I believe there are fourteen now! And from what I have seen on Instagram there is now an Australian chapter!
So if you are on Instagram, look for the Moderninstabee2014 hashtag! and check out the wonderful quilting work by Hive 1 – sewbeait, jessicaquilter, missplanner, pamsaylor53, sqragan, moogiequilter, cristycreates, crinklelove, justalittleoffquilter, lisaquiltslikeaboss, and the mind behind the hive brazenlisa (and me of course).
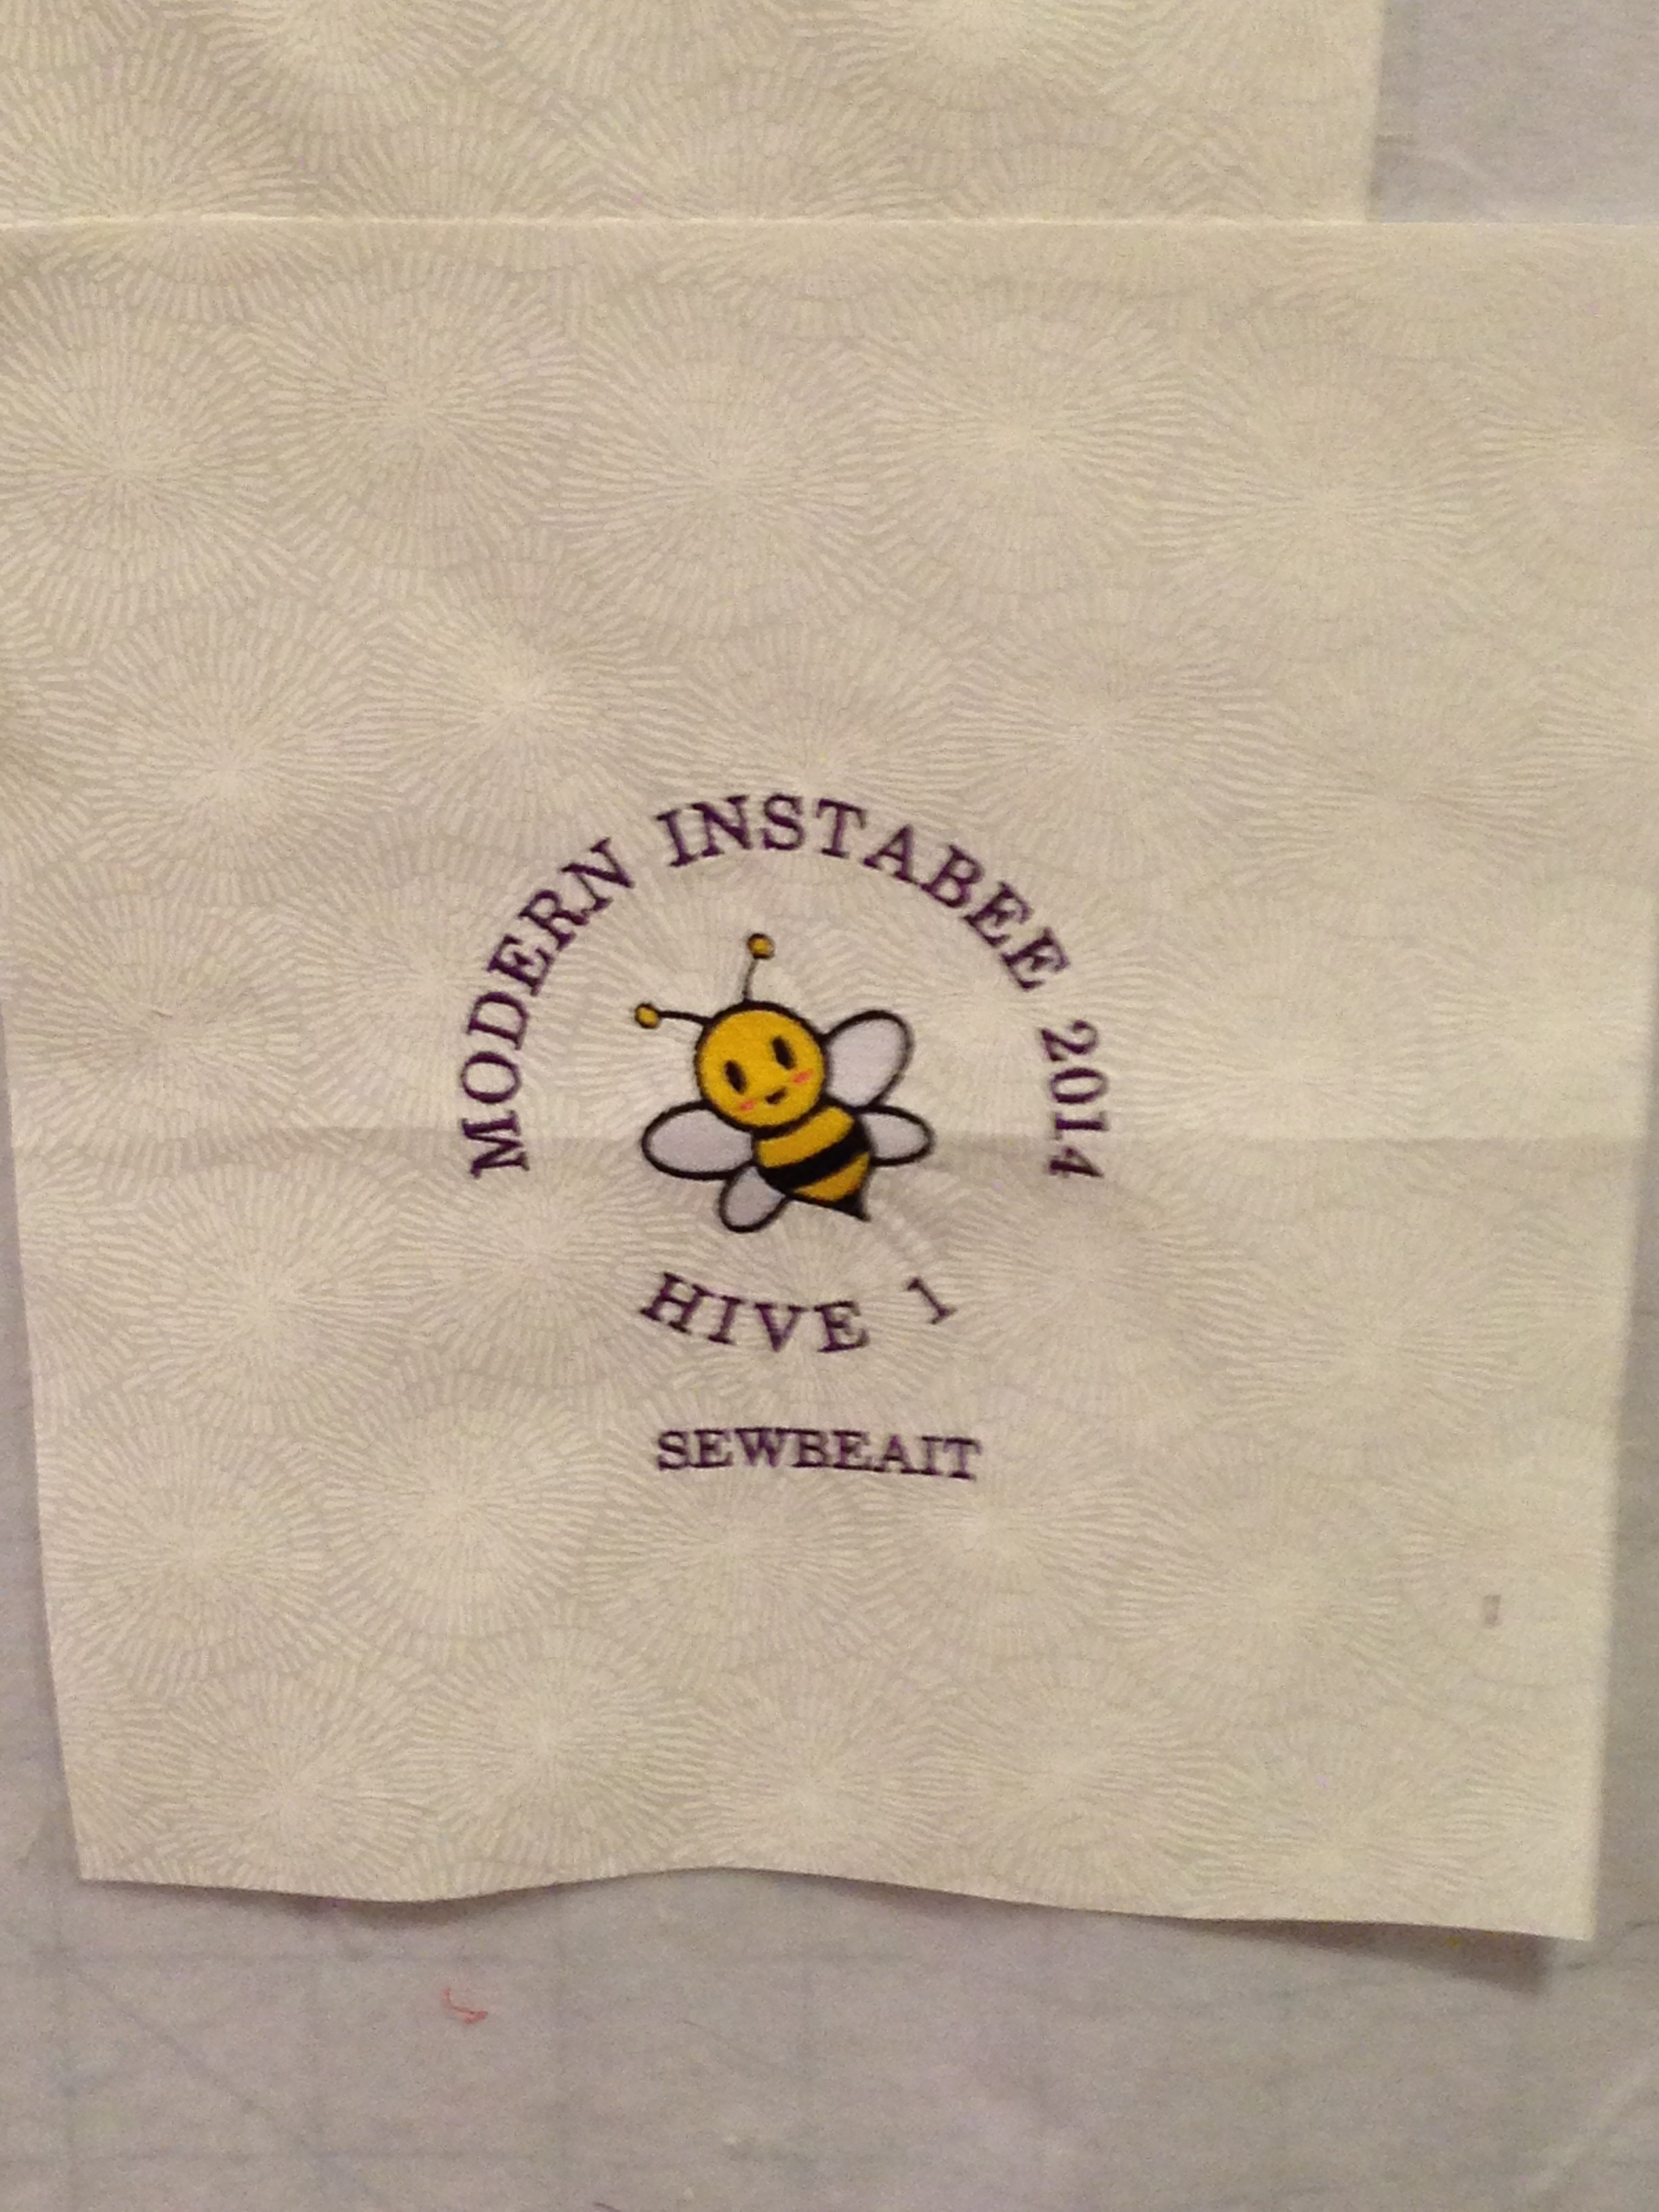
Here are my February blocks for sewbeait:


And then we moved on to March for jessicaquilter.

And I also had to create labels to provide to everyone based on the awesome label that was created (I couldn’t get the little camera to digitize, but the bee is too cute).
Having a fun 2014!

I confess to a love of all things Moda (http://storefront.unitednotions.com/storefrontCommerce/). I have for years – their fabrics and designs are spectacular. I have often found myself visiting the Moda Bake Shop (http://www.modabakeshop.com/). The bake shop site has a wide variety of patterns, projects and ideas.
When I discovered that they had books available I was thrilled. I purchased Fresh Fabric Treats (you can find out more about the book here http://www.stashbooksblog.com/products/fresh-fabric-treats/) last year and have made a couple of items from it.
One of my favorite patterns is Rachel Griffith’s Summer Sorbet Quilt. You can find out more about Rachel here (http://www.psiquilt.com/). Her quilt pattern uses two of my favorite things – charm packs and wonky stars!
I love charm packs because they are great way to get a selection of a particular fabric without getting fat quarters or yardage. I love Moda’s solid charm packs as they give you a variety of pieces to use in your projects. If you have not tried the joys of charm packs, you should!
And wonky stars are delightful! They are easy to make and take some of the stress of getting everything ‘even’! The points in the stars are not designed to be exactly even but instead wander a bit, giving the star a little more ‘natural’ look. I love making them!
So for this project, I was now armed with an awesome pattern and some beautiful Kate Spain Sunnyside charm packs. My cousin Candace had asked me to make a quilt for a very good friend of hers who was going through a rough patch health wise. I was of course delighted that she asked me to do this for her and started to work on this quilt.
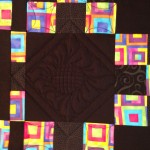
I did a slight reversal of the pattern – instead of all solids for the background and patterns for the points, I decided to use a light yellow for the stars and used the charm squares throughout the quilt to give it more of a patchwork punch. In hindsight, the yellow I picked may have been a little too light because one of the stars gets a little lost in the fabric, but overall I was very please with the results.
I used Warm and Natural batting (my favorite) and quilted in the ditch with Aurifil 2110. The backing fabric is a 108″ wide from Wilmington Prints.
I am just waiting for Candace to give me some input on a label for the back so that the gift can be a little more personalized. I hope her friend enjoys it as much as I enjoyed making it.


I recently purchased Vintage Quilt Revival, an excellent quilt book that updates classic blocks. This excellent book is by Katie Clark Blakesley (http://swimbikequilt.com/), Lee Heinrich (http://www.freshlypieced.com/) and Faith Jones (http://www.freshlemonsquilts.com/). If you are thinking about using classic blocks in a new way, you should check this book out.
One of the blocks in the book is Wheel of Fortune. I loved the secondary pattern that was created by the block and thought, hey, I should try this block! While the book comes with a CD that provides the pdfs for the paper piecing of the various blocks, I was too lazy to walk upstairs to the ‘puter and decided to check Electric Quilt 7 on my laptop to see what it had to offer. I found a block called Road to Fortune and printed that out. I was thrilled with the block and posted it to Instragram.
Well, Lee was kind enough to note on my post that the proportions seemed different from the original Wheel of Fortune and a concept was born! I decided that with the versatility of EQ7 I would explore various permutations of the block.
Here is the original block I made:

And here I am 12 blocks later:

And I finished up all the blocks, did a border, found a backing, basted the quilt and quilted this one up! I did a variety of quilting in each of the individual blocks and stitched in the ditches. overall very happy with the whole thing! I really enjoyed this! The pictures below are the finished front, back, and some detail of the quilted blocks.


